[资源发布] “修复” 的 Longhorn 版本 4048
此文章由原博客迁移而来。
原文地址:https://blog.betaworld.cn/611
原作者:BetaRookie
以下为本文正文部分。
Longhorn 4048 可能是 Longhorn 内没什么特点的一个版本。除此之外,当前泄露的文件实际上是不完整的。ISO 被截断,我们只有前 436273152 字节,Windows 安装映像 install.wim 由此不完整,只保留了前 425633792 字节,而最后 226239579 字节已经完全丢失。
丢失的 WIM 部分相当重要。第三个卷的 Metadata 和整个 WIM 的查找表都位于 WIM 的末尾,它们都随之丢失了。Metadata 包含该卷中文件的文件名、路径、时间戳、属性和安全信息等信息;没有元数据资源,文件块和文件信息将无法匹配。另外,查找表包含压缩数据的大小、位置以及Hash值等信息。如果没有这些信息,文件将无法提取。
我确实对 WIM 格式有点了解,实际上我比其他人先得到了 4048 的副本,所以我设法从中手动提取了一些自己感兴趣的文件,即内核、desksrv.dll 和 shell。我以前发布过 4048 的 ntoskrnl.exe 和其他一些文件,您可以使用它们来让 4051 的版本号显示为 4048,但显然您不能将其称为修复的Build 4048。
如果要实际修复这个版本,那就必须提取所有可恢复的文件,显然这并不容易,需要重建第 3 卷的 Metadata 和整个查找表。我过去曾尝试过,但在恢复第 1 个卷 WinPE 映像后,我放弃了。Lukas Marsik 是一位经验丰富的程序员和著名的 Windows 专家,他在这上面花了将近 2 年的时间,并取得了成功。他发现 Build 4051 在目录结构方面与 Build 4048 非常相似,所以他借用了一些 4051 的东西,并成功提取了所有可恢复的文件。
只用恢复的文件无法启动系统,因为几乎有三分之一的系统文件丢失(完全消失),注册表配置单元也消失了。这个 .NET 相关的注册表部分在不同版本之间大量更改,因此编辑 4051 的注册表配置单元以用于 4048 是不可行的。由于 IBS 注册表的 INF 保存了下来,可以将它们组合成 hivewin.inf,因此 I386 重新打包可能是安装 4048 的最佳方式。我花了一周半的时间重建了所有被删除的注册表 INF 和 CAB 文 件,现在我有了一个可用的 4048 安装文件。不要问我是如何重新包装 I386 目录的,我没有参照互联网上的任何指南,因为它们都是垃圾,并且详实的教程编写十分困难。
您可以在此处下载重新打包的 I386 文件。由于我们丢失了大约三分之一的文件,我从Build 4051 中借用了它们。考虑到现在这是一份拼凑出来的文件,安装过程中会出错(主要是由于签名不匹配),我已经修补了 setupapi.dll 和 syssetup.dll 来消除那些致命的证书/目录错误,但非致命的错误仍然存在。
完成文本模式安装后,您将看到各种窗口弹出,请确保在遇到它们时按照下面的图示操作。
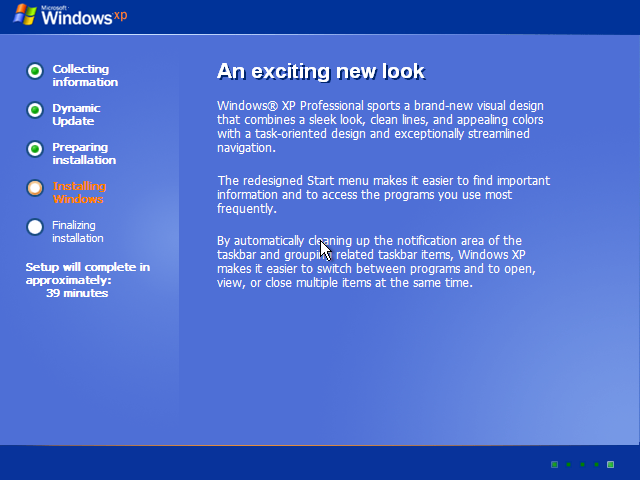
这是第一次重新启动后您将看到的内容。
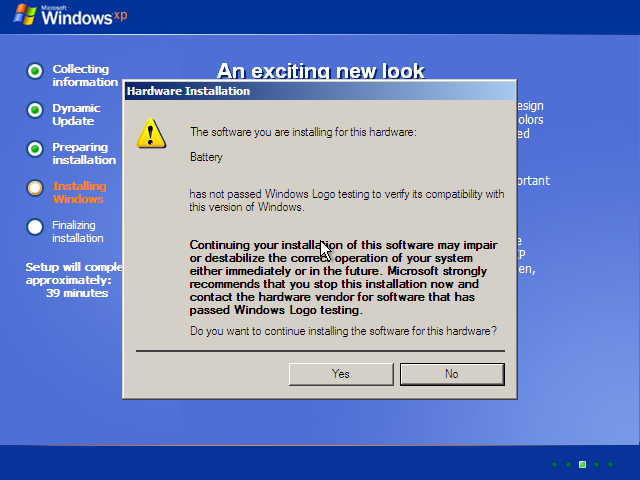
所有类似的提示都选“Yes”。
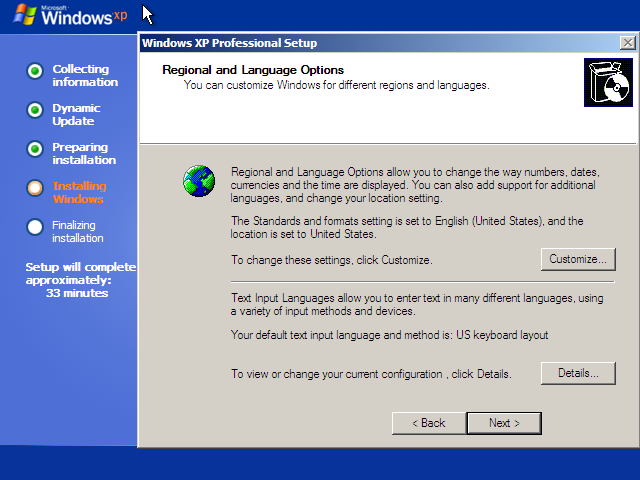
自定义区域选项后,单击“Next”。
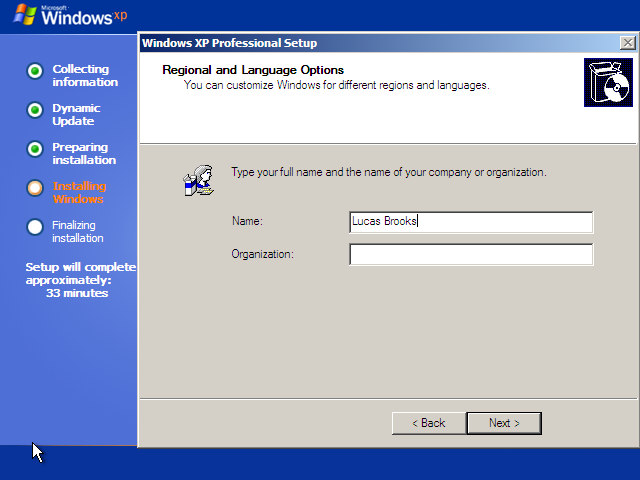
输入你的名字。
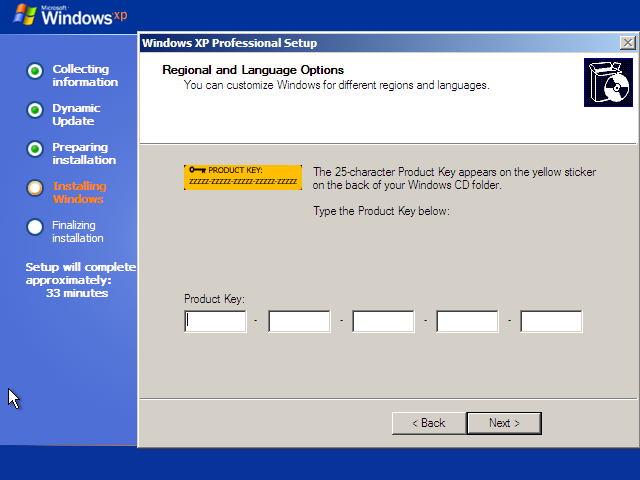
输入产品密钥。
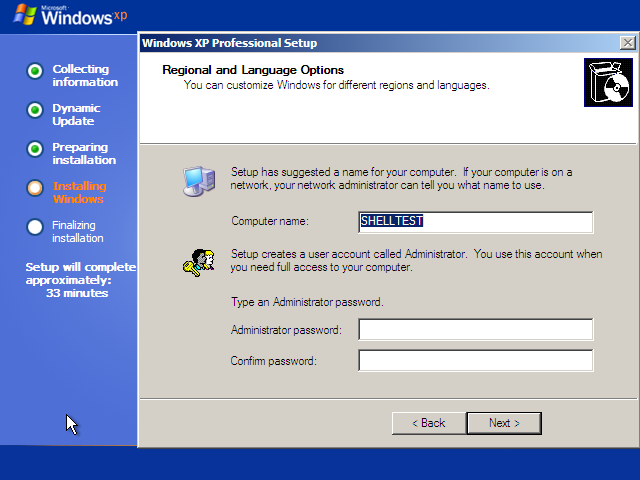
输入计算机的名称或使用默认名称。
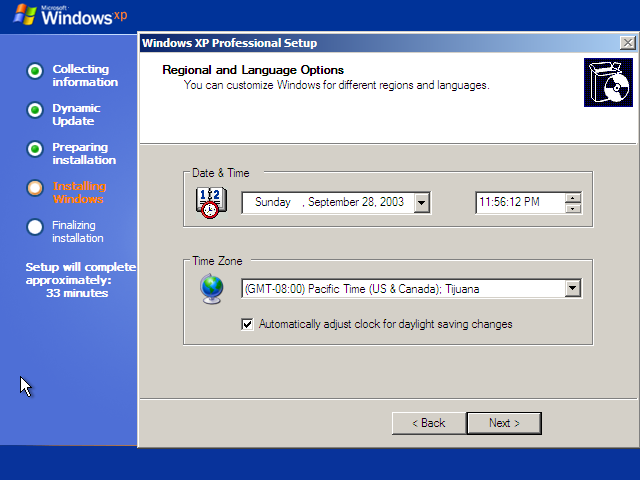
设定你的时区。
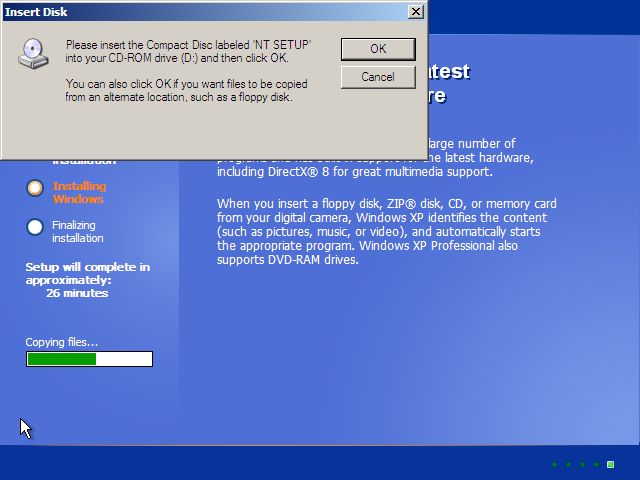
当您看到此内容时,请单击“OK”。
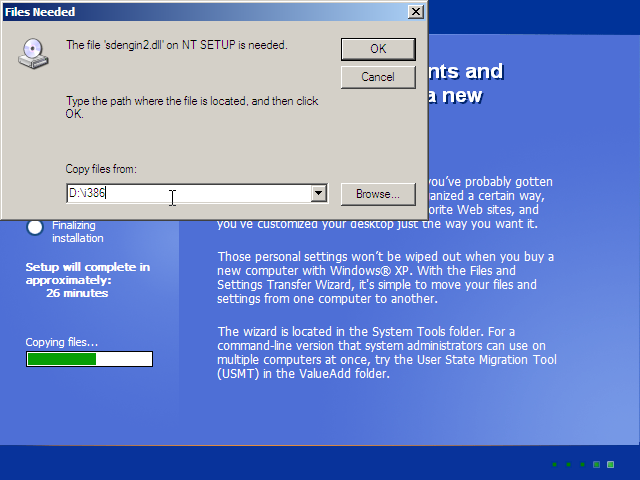
将路径更改为“D:\i386”,然后按“OK”
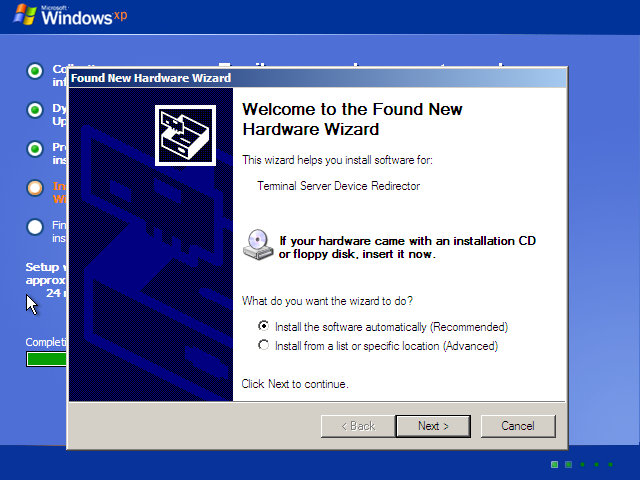
当您看到这些提示时,按“Next”。
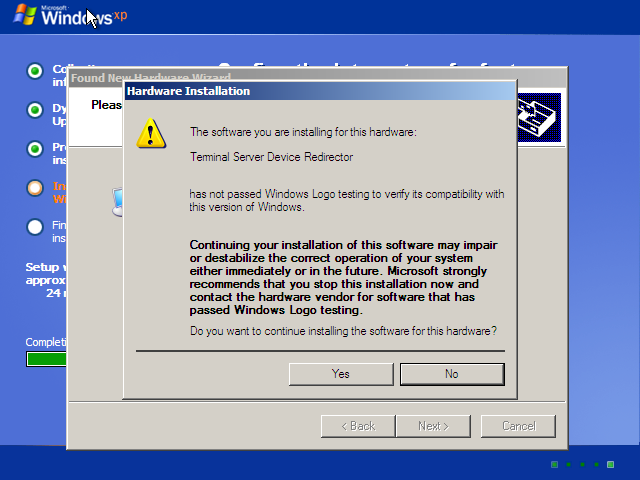
按“Yes”。
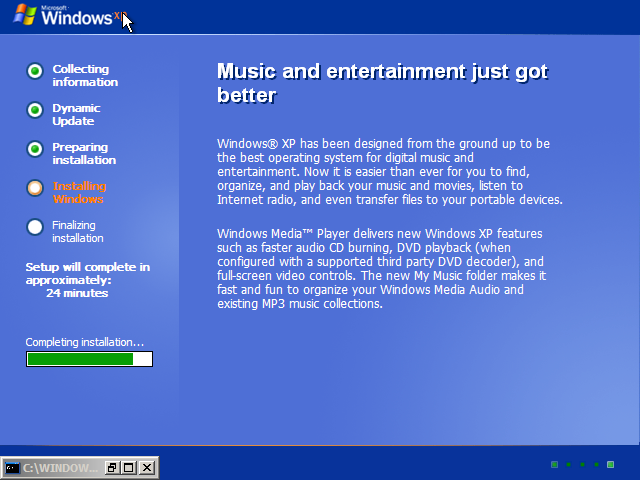
安装 .NET 组件。
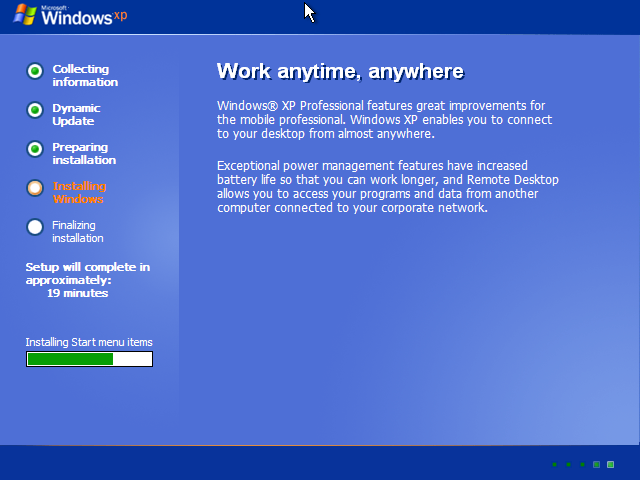
安装“开始”菜单项。
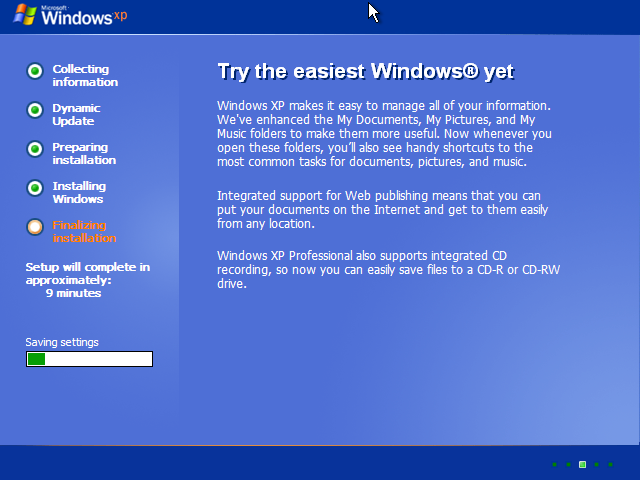
保存设置。
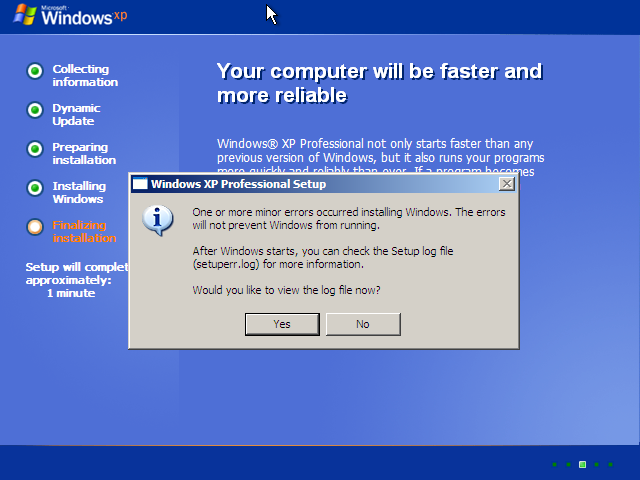
如果要查看错误,请按“Yes”,否则请单击“No”。
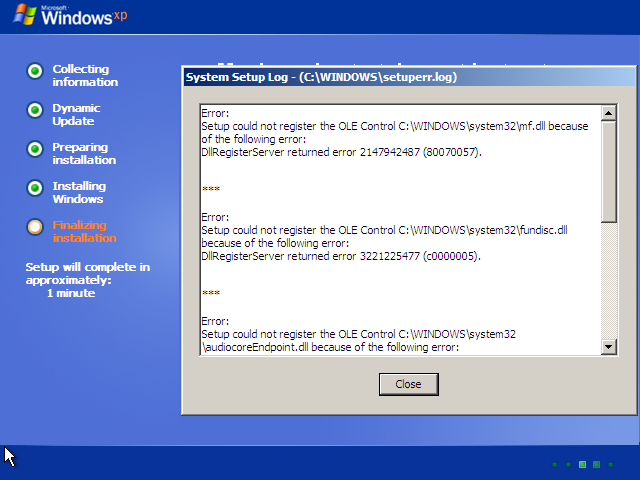
您将看到错误,因为无法正确安装 Media Foundation。
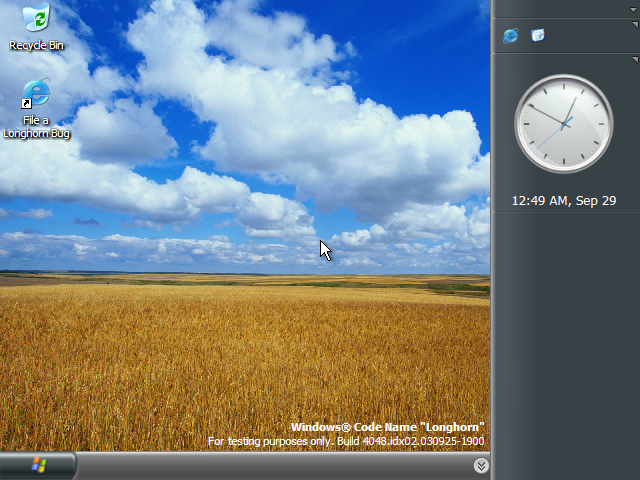
第一次开机。

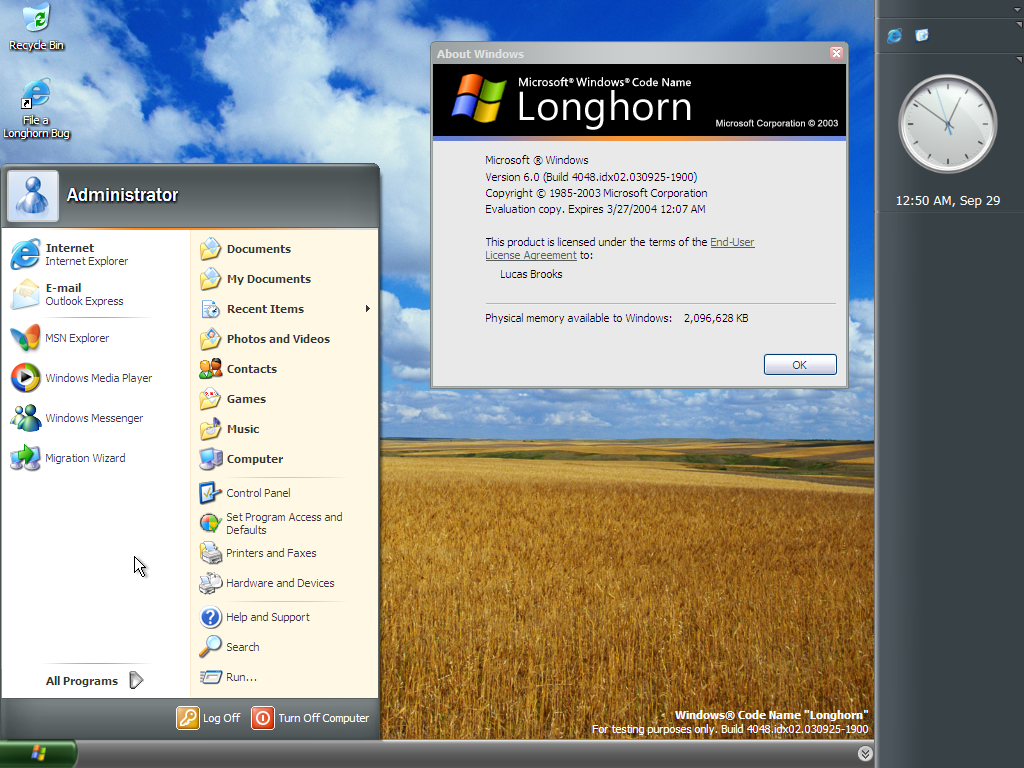
开始菜单和 winver。
下页是英文原文 :

Longhorn 4048 is probably one of the most boring builds of Longhorn and even worse, the leaked copy is actually incomplete. The ISO got truncated (cut off) and we only have the first 436273152 bytes. The Windows image install.wim is incomplete as a result of that, and only the first 425633792 bytes survived. This means the last 226239579 bytes of install.wim are gone for good.
A truncated WIM is not something good. The metadata resource for the third index and the lookup table for the entire WIM are all located at the end of the WIM so they are all gone. Metadata resource contains information such as the filename, path, timestamp, attribute and security information of files in that index. Without metadata resource you will not know which file is which. The lookup table contains information such as the size and location of the compressed data and the checksum, so without that files cannot even be extracted.
I do know a bit about the WIM format and I actually got a copy of 4048 before everyone else so I managed to manually extract a few interesting files from it, namely the kernel, desksrv.dll and the shell. I have posted 4048’s ntoskrnl.exe and some other random files before and you can use them to make 4051 report 4048, but obviously you can’t call that a fixed build 4048.
In order to actually fix the build, all recoverable files must be extracted and obviously it isn’t something easy to do. The entire lookup table and the metadata resource for index 3 needs to be reconstructed. I have attempted that in the past but I gave up after recovering the first index which is the WinPE image. Lukas Marsik, an experienced programmer and a renowned Windows expert actually spent almost 2 years on this and he succeeded. He found out that build 4051 is very similar to build 4048 in terms of directory structure so he borrowed some of the 4051 stuff and got all recoverable files to extract.
Now with only the recovered files there is no way to make it boot, as almost exactly a third of the system files are missing (gone completely) and the registry hives are gone as well. The .NET-related part of registry changes massively between builds so editing 4051’s registry hives to work for 4048 isn’t doable. Since the IBS registry INFs survived, they can be combined to form hivewin.inf so an I386 repack is perhaps the best way of installing 4048. I spent a week and a half to reconstruct all those deleted registry INFs and CAB files and now I have an installable copy of 4048. Don’t ask me how I did the I386 repack, I did not follow any of the guides on the internet because they are trash and it is super hard to write a proper guide.
You can download the I386 repack here. Since we are missing about a third of the files, I’ve borrowed them from build 4051. Considering that this is now a frankenbuild (“Frankenstein” build; Victor Frankenstein from the novel Frankenstein created a monster by sewing various body parts together), you will see errors during the installation (mainly due to signature mismatches). I have patched setupapi.dll and syssetup.dll to get rid of those fatal certificate/catalog errors but the nonfatal ones are still there.
After completing text mode setup, you’ll see various message boxes and dialog boxes, please make sure you do what the description below says when you encounter them.

This is what you’ll see after the first reboot.

Click “Yes” for all prompts like this.

Click “Next” after customizing regional options.

Type your name in.

Type the product key in.

Type in a name for your computer or use the default one.

Set your time zone.

Click “OK” when you see this.

Change the path to “D:\i386” then press “OK”

When you see these prompts, press “Next”.

Press “Yes”.

Installing .NET components.

Installing Start Menu items.

Saving settings.

Press “Yes” if you want to see the errors, otherwise click “No”.

You will see errors because Media Foundation cannot be installed correctly.

First boot.

Start Menu and winver.